Default Slider
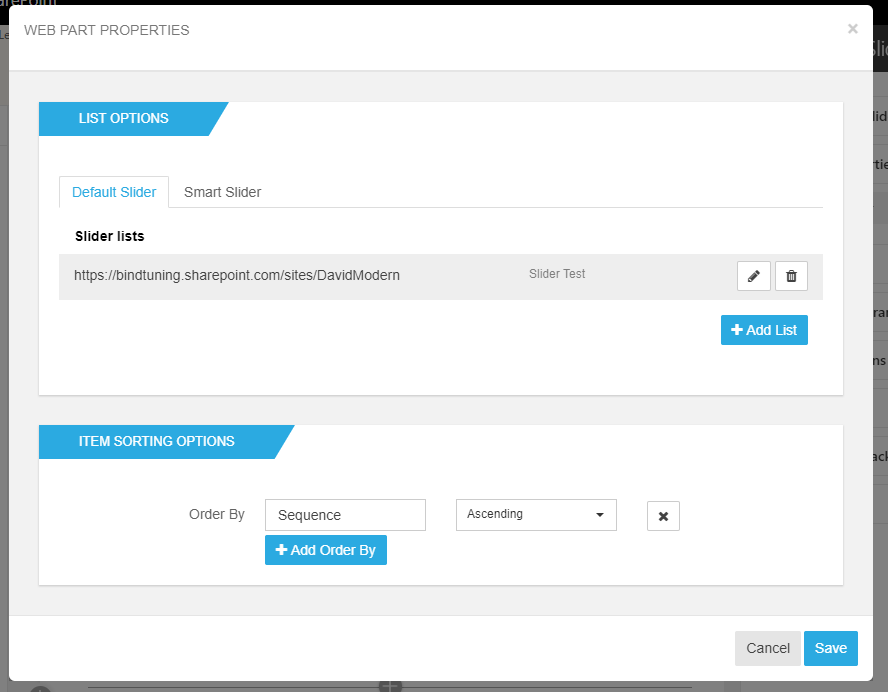
Here you will need to connect your web part with a SharePoint list. Without it, the web part will not function and an notification message will appear. Let's get to it:
- Click Add Slider;
-
On the first text box insert one of the two:
- The URL of the list you created
- A URL of a site collection
Use relative paths for this field. So instead of using an URL like https://company.sharepoint.com/sites/Home, you should use something like /sites/Home/.
-
Second box, select the list you have created to be used if not already selected;
-
Choose your Filtering Options to filter your list elements. You can choose to have:
-
No Filters - You show all the items on the list.
- CAML Query - You can query the list to just show items based on the query built.
-
Select a View of the list - You can pick the List View created and just show those elements on the list.
-
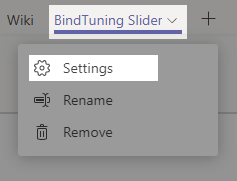
When you're done, click on the 💾(save) icon to save.
Now you're ready to insert images on your Slider Web Part. Visit the next link for create yours Slider.
Item Sorting Options
By default, this option contains the Order By on the column Sequence of the Slider list, which represent an option to insert a slider on a page with an certain order. For more information about this option check the Slider Settings.
If you're using the Default Slider this property will applied to Slider lists. If you're using the Smart Slider, it'll apply the order by to the Source List.
Here you can define what will be the order of your slider using the internal name of one of your list colunms name.
You will need to type in the internal name of the list column on the Order by text box - we will sort the slider according to the value of the cell name you enter.
Here is what you need to do:
-
Access the Teams Settings
-
Click to Open the Slider List.
-
On the top menu, click on List and then List Settings (or Settings > List Settings);
- On the Columns section, click to open the colum name you want to use;
- Inside, on the URL look for "...Field=...".
-
Copy the internal name;

-
Now paste the name on the text box;
- Choose the order, Ascending or Descending.
With Add Order By, you can add more sorting options.
How to use CAML Query
You can use a free 3rd party software for creating the query, like this one👉http://www.u2u.be/software/. Then you can copy the query and use it as a filter. Below is an example with multiple filters allowed of a query you can have.
If you’re using SharePoint 2013, install the U2U CAML Query Builder for SharePoint 2013 (Standalone Edition).
<View>
<Query>
    <Where>
        <And>// have to meet this 2 conditions
            <Eq> //Equal
                <FieldRef Name='PromotedState' />
                <Value Type='Number'>2</Value>
            </Eq>
            <Leq> //Lower or Equal
                <FieldRef Name="Created" />
                <Value Type="DateTime" Offset="-90"> // -90 days from today
                    <Today />
                </Value>
            </Leq>
        </And>
    </Where>
    <OrderBy>
        <FieldRef Name='Created' Ascending='False'></FieldRef> // Most Recent to older created element
    </OrderBy>
</Query>
<RowLimit>3</RowLimit> // Number of items that you want to show
</View>
Smart Slider
To know more about this functionality that allows you to connect the Slider List with any other list where your images or content will be created, please visit the section of Global Slider Options